I currently experiment with the lighting options for elevation data. I experimented quite a bit with the rabbit hole named -I but to my understanding this only offers “traditional” shading without shadows on surrounding terrain.
My current workflow is preparing the data in GMT (generating DEM and texture (custom CPT)) and then use Blender to render the image to have “true” lighting of the terrain.
Is there a way to achieve this with GMT alone? I’m looking to automate the whole process …
Scripting Blender is the way to go. There’s an excellent course “Scripting for Artists” on Blender Cloud and some recent installments on YouTube. I love being able to use Python to integrate Blender, GMT and various models and data sources.
Hi @Andreas, I chose “true lighting” to describe a way of lighting that throws shadows on other terrain. There might be a better description for it though. The -I option in GMT does some highlighting based on the angle light hits a surface. No shadows there but a very powerful tool to highlight terrain features.
As I’m a total beginner in Blender I feel there might be better ways to achieve what I did. You’ve been warned:
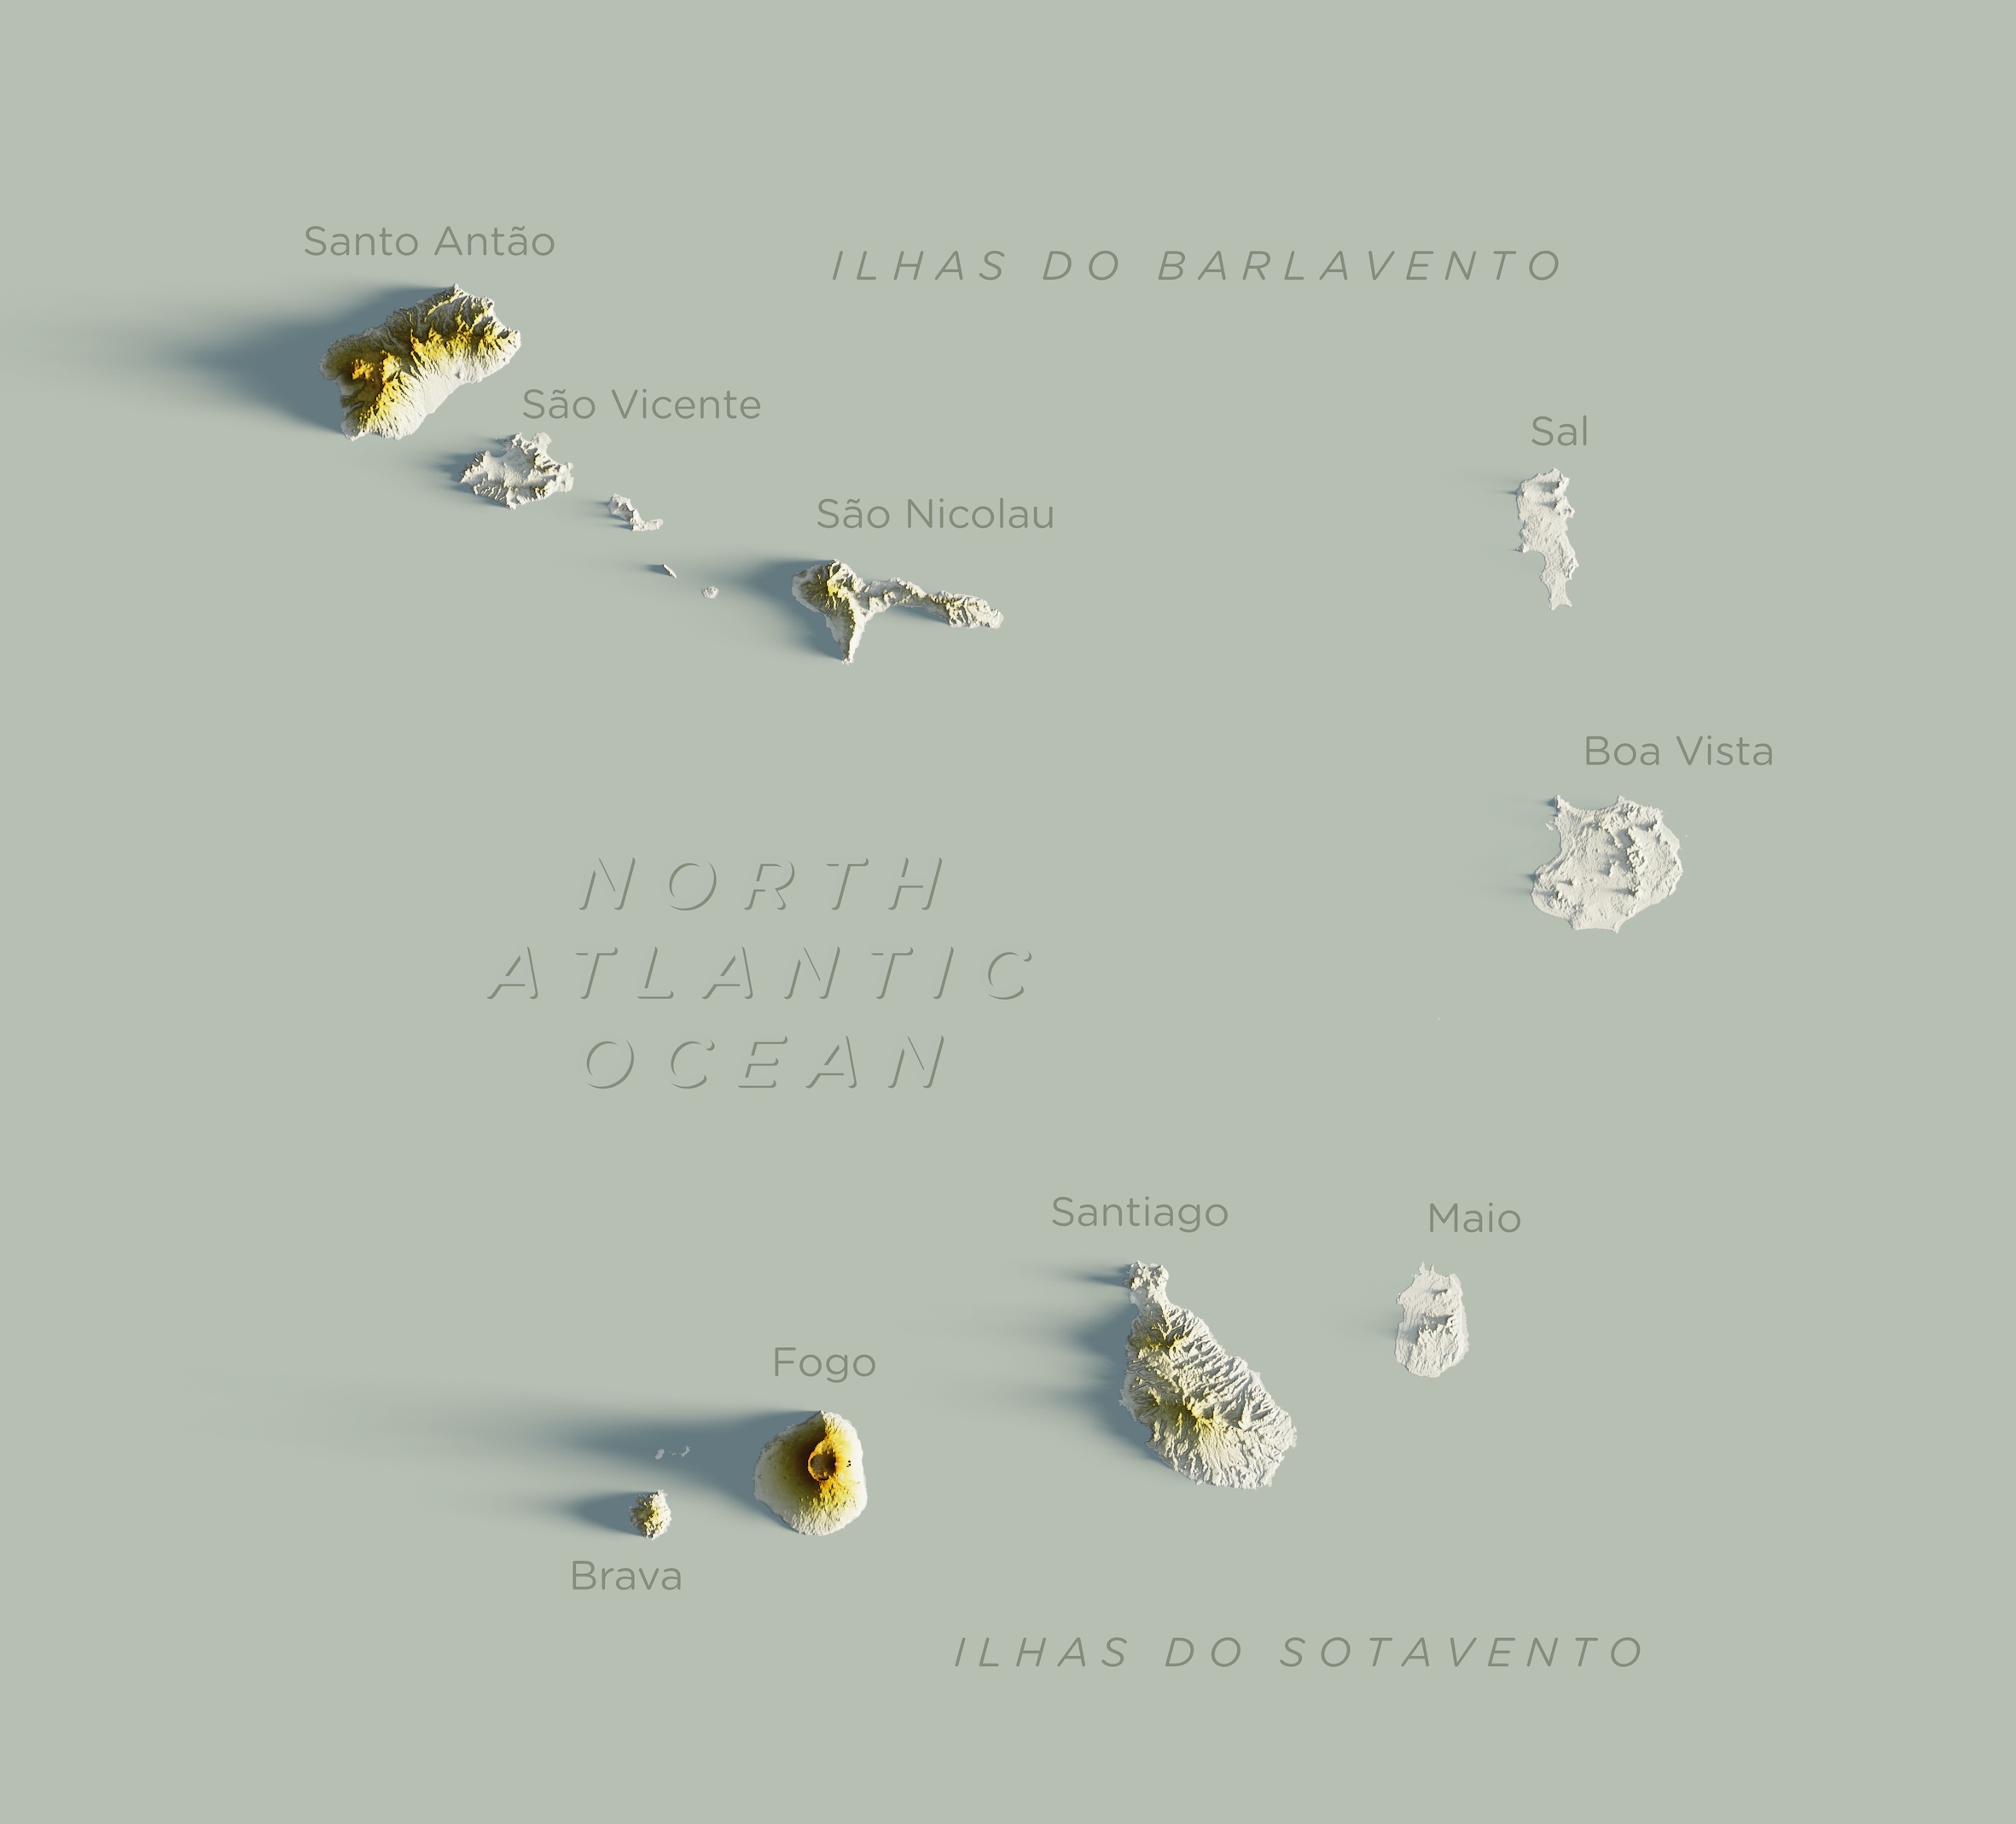
Basically I used two light sources – both configured as “sun”.
One to the right only a little bit above the plane with a yellowish tint as sun, one overhead the plane with a blueish tint to act as scattered light from the atmosphere to bring some detail into the shadows. The blueish light has an intensity about 1/100th of the sun.
Hi @KristofKoch, not really an answer, but if you’re willing to outsource this task or send a few emails/tweets to learn more from seasoned experts, I can recommend two great cartographers to get in touch with.
David Garcia at https://www.mapmakerdavid.com/, he’s made some great maps of islands using QGIS + Blender (there’s a *.blend file linked on his site). He’s actually still a PhD student, and I met him at the FOSS4G Oceania conference last year, but he came across as really approachable and passionate about his maps!
Ian Reese at https://xycarto.com/gallery/. He uses a more advanced stack (mostly open source tools like GDAL + some Photoshop), but he’s made some impressive maps too. I knew him as the ‘guru’ cartographer back when I did an internship at LINZ, and he seems to be a freelancer now.
Hi @Joaquim it takes about 3 minutes in GMT (for both the displacement map and the texture map) and about 2 minutes in Blender. Original picture size is 4725px x 4275px. Thats on a laptop.
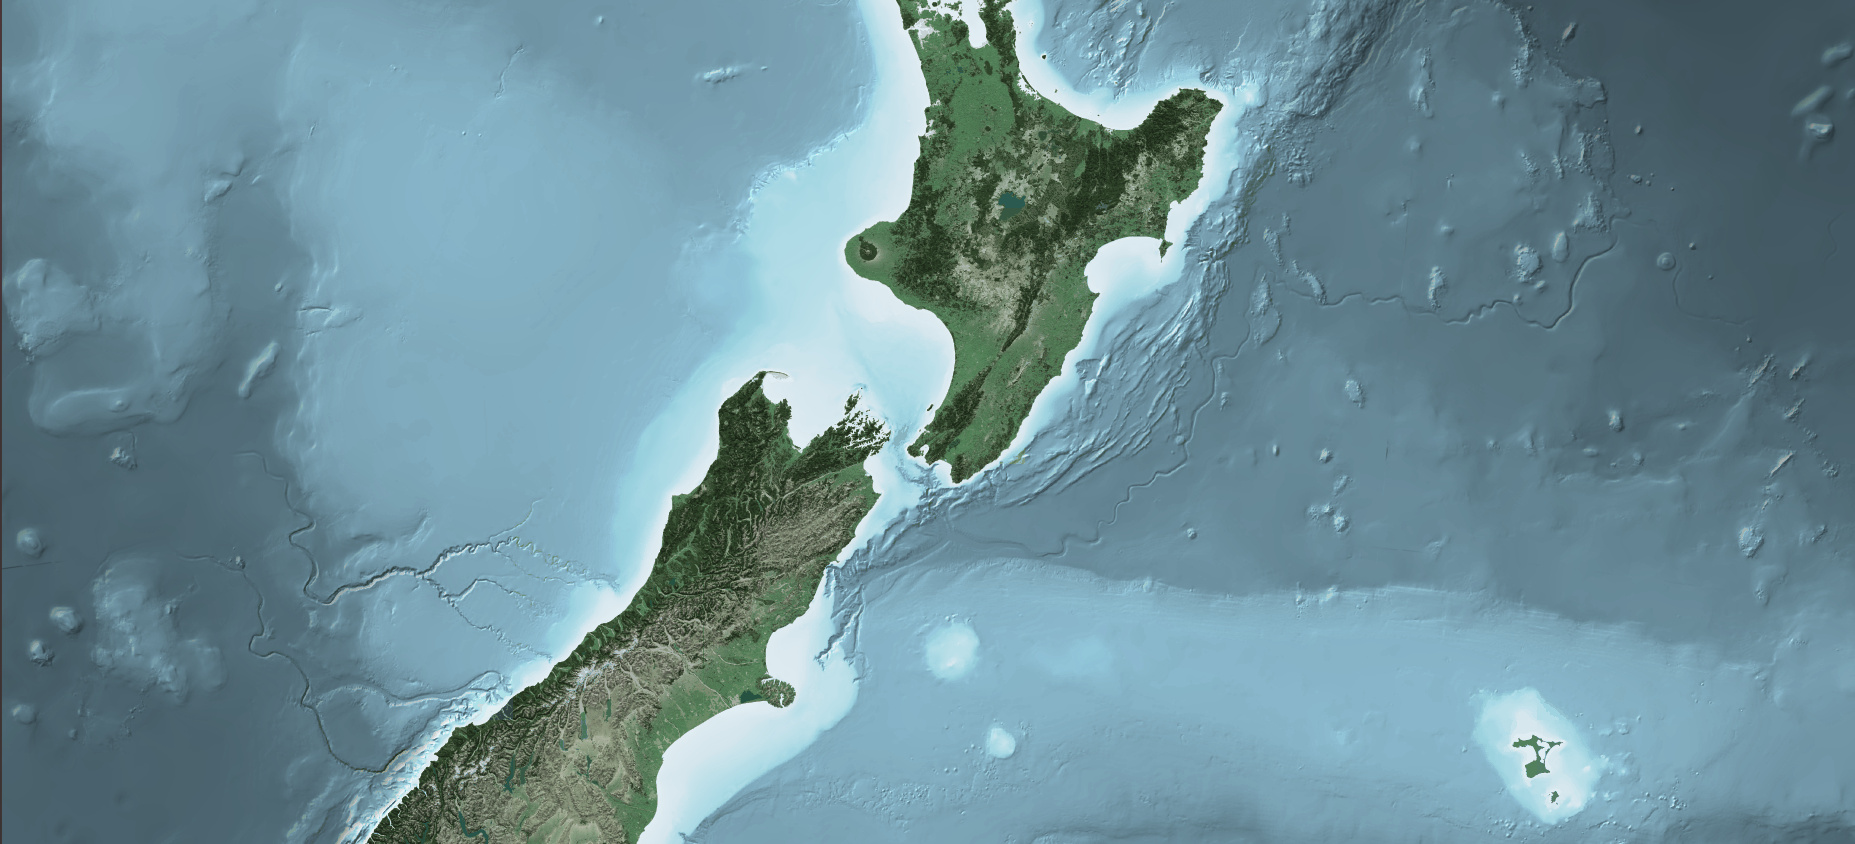
@Joaquim to further clarify I’m using the Eevee renderer (default in Blender) which is not a ray tracer. I ran some tests for you to better quantify the rendering times:
Unlike Cycles, Eevee is not a raytrace render engine. Instead of computing each ray of light, Eevee uses a process called rasterization. Rasterization estimates the way light interacts with objects and materials using numerous algorithms. […] Cycles will always provide more physically accurate renders.
Thanks. I know little on this. As I said long ago I made some experiences with POV Ray. More recently I quickly experimented with blender but did not continue.
The recent “Scripting for Artists” tutorials are here: https://www.youtube.com/playlist?list=PLa1F2ddGya_8acrgoQr1fTeIuQtkSd6BW
There are more, older episodes available on Blender Cloud for subscribers: https://cloud.blender.org/training/scripting-for-artists/
These do not directly address your problem (scripting materials), but they give a good idea of how the Blender Python API work, how to navigate the documentation, and use the Blender UI (most of which is scripted through the API) to find out how things are done.
Here is some stuff I made in Blender, some of it with minimal GMT: https://www.youtube.com/playlist?list=PLbnwgxMAIE_SXT1wxuY0Q4bcMotQ_RL1r
And here is an older animations I made using GMT: https://vimeo.com/264594121
All rather crude in terms of cartography compared to what you are doing, but I hope you like the ideas of what’s possible when combining python scripting with tools like GMT and Blender.
Hi @eelcodoornbos thank you very much for the links to the scripting tutorials. After a quick glance at some of these videos it seems I’m in for one steep learning curve. But boy are the scripting possibilities powerful!
While I understand only some of the science behind your visualizations I really like the aesthetics of your work. Clean, crisp, no eye-candy. That visualization of Earth’s magnetosphere in the first Daedalus video looks like straight out of the National Geographic Magazine in the Sixties or Seventies. Nice style. Thank you for sharing it.